Celebrating My One-Year Anniversary of Financial Independence!

Happy April Fool’s Day!

But I’m not kidding. It’s been a year since I moved out of my parent’s house. I vividly remember the stressful experience of apartment hunting on Craigslist.while still convincing myself it wasn’t a stupid financial move, especially for someone who was self-employed. I had to admit, I had my moments of doubt, not having a stable stream of income was a really scary thing. But I also realized it was a fear in my head that I could overcome if I wanted. And I did. I wasn’t going to let my self doubt inhibit me from doing something that was important to me. Living at home was starting to become unrealistic so that was a big motivator too.

I have grown so much living on my own in this past year. I have experienced a death (of a roommate) and a robbery (luckily I wasn’t the victim) in my apartment. They may sound horrible on paper but witnessing a death in such close proximity was a wake up call to value my short and finite amount of time on Earth. As embarrassing as it was for me to admit, I was that  spoiled kid at home who never had to clean the house or do laundry or cook while I was living with my parent, I had to force myself to learn all those things and it was one of the best things I ever did to myself.

Although my mom would disagree and argue that moving out was not a smart financial move, I had to say it changed me for the better more than I imagined. I’ve become more self-reliant and confident. I like the person I am today a whole lot more than my older version a year ago.

How I got my $70 overdraft fee refunded

How to get bank overdraft fee refunded

I’d like to think I’m a financially responsible person. I’ve never been charged any bank/interest/late/overdraft fees in my life… up until a couple weeks ago. I guess there’s always a first for everything. I make mistakes sometimes and I’m going to tell you how I fixed it.

I opened a new checking account roughly six months ago. In the beginning of this month, my account was overdrawn. Though it wasn’t entirely my mistake. I wrote a check to my landlord, which she usually cashed the next day, but for some reason, she didn’t this month. Forgetting that I wrote the check after a week, I used the money to pay my credit card bills. When she finally cashed it almost 2 weeks later, my account was overdrawn. I was charged a $35 overdraft fee and another $35 “sustain overdraft fee” for not paying back the negative balance in my account. How was I supposed to know I was overdrawn if the bank didn’t notify me?!

I got on the phone with a customer service representative, it was a no-go. I thought it was a HUCA (hang up, call again) type of deal, I gave it two more tries, still no go even after talking to a supervisor. I wasn’t ready to give up yet. I went into a local branch and explained the whole situation. The trick was to be firm but polite. The teller agreed to refund me both fees. But the story didn’t end there, when I logged in to my account the next day, she only refunded one of the two fees. I called back a few days later, I was told that they had to verify with the branch teller that I spoke to and would follow up with me within a few days. As I expected, no follow up was received. I called back the following week, talked to another supervisor and finally got my second $35 fee refunded.

The moral of the story is you have to be very persistent and firm; don’t take no for an answer.

Here Are 6 Things I Learned

  • Banks would rather give you the refund than waste time and deal with the same case over and over again.
  • Never take no for an answer. Bank reps always have the power to reverse any fee; it’s not true when they tell you there’s nothing they can do.
  • Ramit Sethi has a mostly effective telephone script you can follow.
  • When I say “mostly“, it really only works when you have a long-term relationship with the bank that you can leverage. In my case, my account was open for just 6 months. I used the script for the first couple of calls, I was basically told the same thing… along the line of my account age being too short and they weren’t able to extend the courtesy to refund the fees.
  • Going into a branch and talking to a teller made a difference because it was harder for them to say no to me face-to-face and when there were other customers around.
  • Being persistent, firm, and polite paid off in the end.

Yes Victory

DIY Passport Photo

I used to cringe every time I saw a CVS photo specialist take a passport photo in direct flash and white projector screen; police stations take better mugshots.

I decided to take my sister’s passport photo for her Japanese transit visa. I looked up the passport photo requirements on the Japanese embassy website. She needed a 2x2in photo attached to her visa application so here’s what I did:

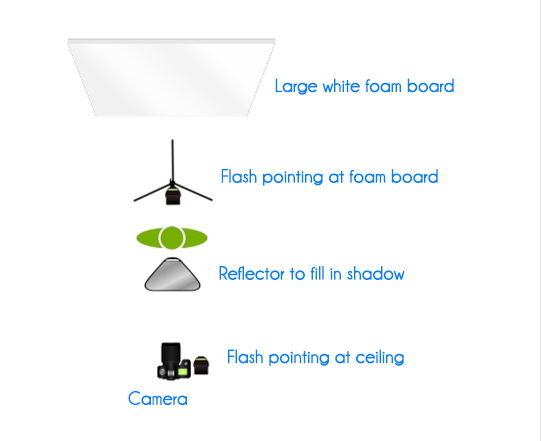
DIY passport photo lighting diagram

The setup was simple. One flash on high power to overexpose the backdrop; one flash for soft light bounced off the ceiling while the subject held a reflector to fill in the shadow.

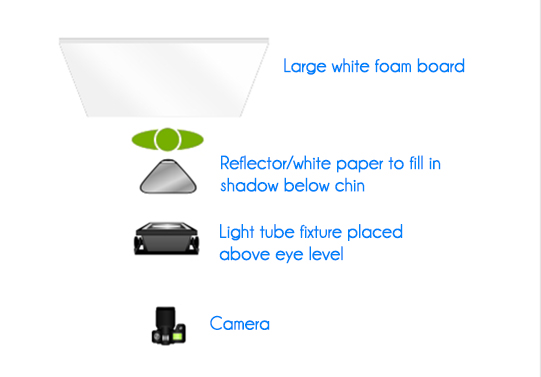
However, if you don’t have flashes, you can use a light tube fixture to achieve similar result.

DIY passport photo easy lighting diagram
DIY passport photo lighting diagram (for non-photographers)


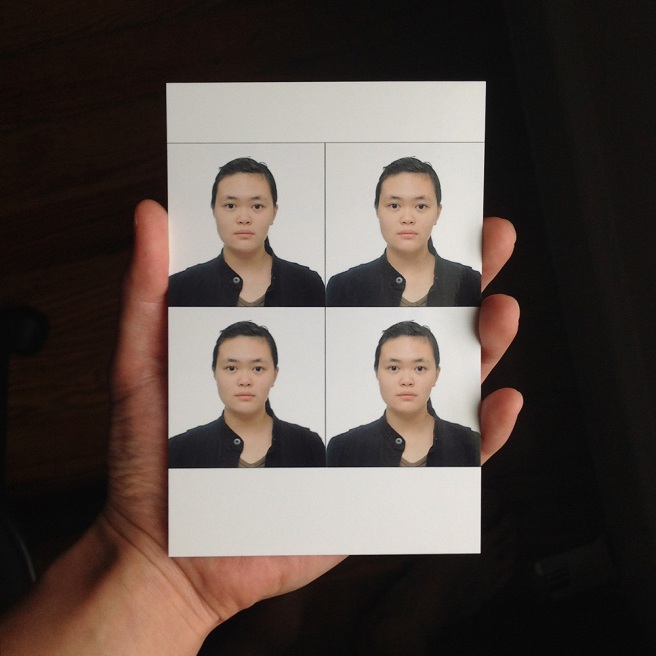
Once I took the photo, I adjusted the exposure and contrast in Photoshop, uploaded it to this passport template website, it spit out a ready-to-print 4x6in file that I could print on regular photo paper.

take passport photo at home
DIY passport photo 4×6 template

And the last step was to cut out the 2x2in squares.

DIY passport photo
DIY passport photo

The whole setup took me about 30 minutes. I could be more picky and fix her collar but I was rushing and I didn’t think it would be a problem for the purpose of obtaining her transit visa.

Photo Report + Travel Tips: Cancun

It’s only February and I’m so happy to say I fulfilled one of my New Year resolutions – travel outside the U.S. My boyfriend and I went to Cancun for 4 days, thanks to Expedia’s mistake promo, and we had an amazing time away from the snow and soaking up the sun – we’re now roasted but it’s worth it =p

Here are a few tips that I learned along the way for anyone who’s planning on traveling to Cancun:

  • Once you step outside the airport, you’ll be bombarded by tour guides trying to sell you bus and tour tickets. Pat and I took a shuttle (to Downtown) that costed $17/person. But if we took a taxi, it would have only costed 250 pesos, or about $20 for both of us.
  • Bring a credit card (preferably one with chip and pin and no foreign transaction fees) with you. The currency exchange rate is 1 USD = 15 Pesos. If you use USD cash, you only get about 13 pesos per dollar in store.
  • Bring lots of $1 bills for the bus. We stayed in a hotel in downtown and took the bus (R1 and R2) to the hotel zone. Each ride was $1 or 13 pesos per person. We ran out of dollar bills and paid with $10 and $20 bills, we ended up getting charged way more – probably because the bus driver wasn’t good at math or I didn’t do the calculations beforehand.
  • If you’re doing any tour, they usually pick you up from your hotel. Cancun time is one hour behind Eastern Standard Time. Make sure you change your clock. We forgot and missed the pick up so we ended up losing the deposit.
  • Speaking of tours, the prices are likely negotiable, especially during off seasons. We weren’t originally planning on doing any tour but we got chatted up by a tour guide and he offered us a tour with an advertised price of $109 USD for $50 USD.
  • Pat and I have heard horror stories about stuff gone missing in hotel rooms. Unless you’re staying in a super high end hotel, the safes are not that safe. We brought tape and a few ziploc bags, put our passports inside and taped one to the bottom of a shelf and hid the other one under the sink.

The day before we flew back, we were on our way back to our hotel and walked pass a souvenir store. The owner approached me and asked to trade my t-shirt (with the sparkly red-lipped gorilla, it was one of my favorite shirts I owned) for any shirt in his store. I agreed. And from now on, t-shirts are going to be my travel souvenir.

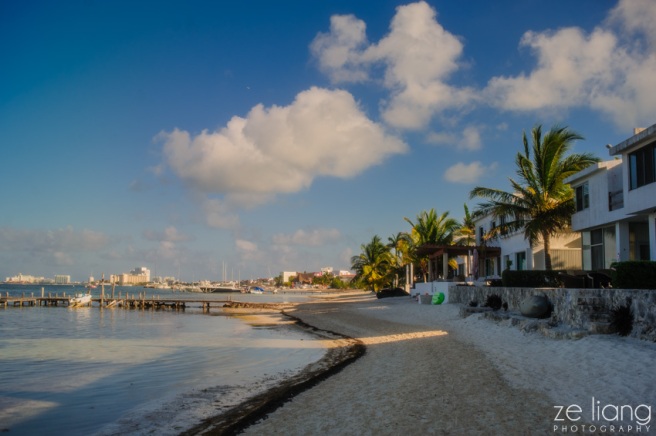
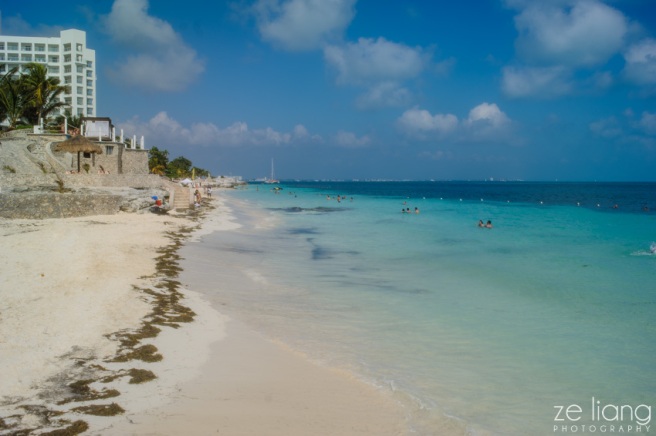
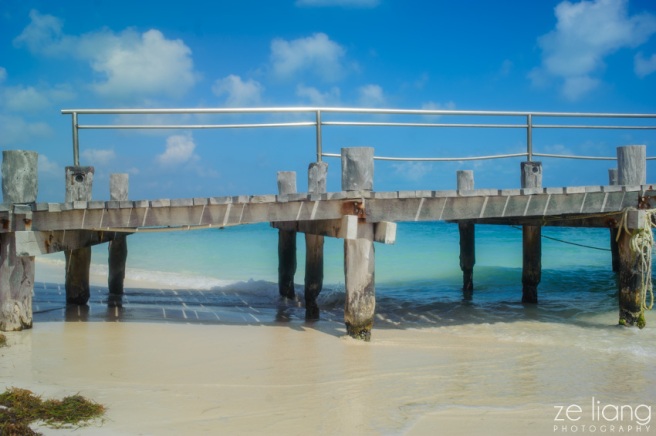
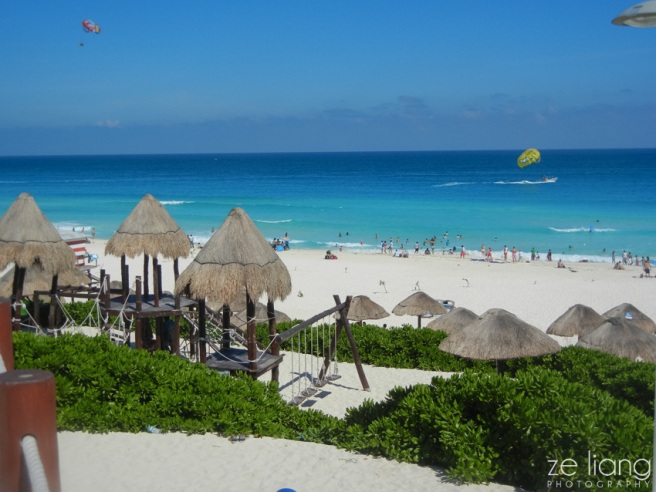
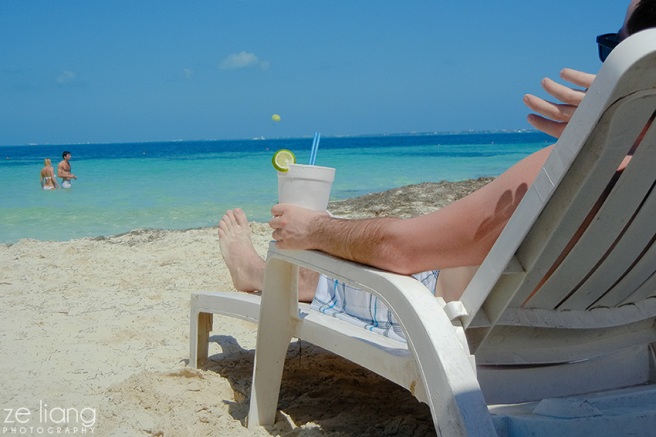
Cancun Hotel Zone beach-6603 Cancun Hotel Zone beach-6609 Cancun Hotel Zone beach-6654 Cancun Hotel Zone beach-6670 Cancun Hotel Zone beach-3306Cancun Hotel Zone beach-3305

Sipping margaritas on the beach. This might have been his 4th.

Cancun Hotel Zone beach-3302Cancun Hotel Zone beach-3328

Along this river had alligator warning signs but the water was so clear. What’s worse than getting eaten by an alligator? Apparently, not jumping in the water.

Cancun Hotel Zone beach-3357Cancun Hotel Zone beach-6842

Cancun Hotel Zone beach-6644 Cancun Hotel Zone beach-6734

This was a Mayan ruin by Playa Delfines (Dolphins Beach) in Mirador. It was a less popular ruin and the admission was only $4.

Cancun Hotel Zone beach-6698Cancun Hotel Zone beach-6773

If you have other tips for traveling to Cancun, please share them in the comment so other people can benefit. I hope this post is entertaining and informative.

How to Form a LLC on Legal Zoom?

Forming a limited liability company, aka LLC, was much easier than I thought. I kept procrastinating on starting the paper work because I imagined it to be a headache-inducing task, but once I got started, it was almost too easy that I could get it done before I finished my cup of hot chocolate.

Before you get started, you should read about the difference between sole proprietorship and LLC.

Once you decide that a LLC is right for you, you have two options. 1) Hire a lawyer to take care of the paper work for you. Or 2) do it on Legal Zoom – this was more cost effective as it only costed $149. Either way, you would have to pay an additional $500 (MA) state filing fee.

The whole process can not be simpler.

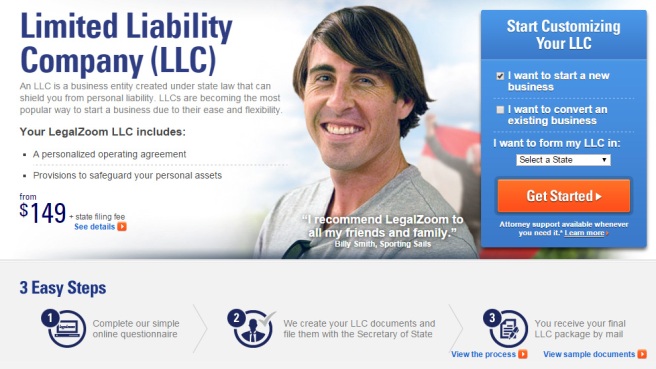
Go to Legal Zoom, select the check box “I want to start a new business” and your state.

Legal Zoom LLC

Then you put in your information (address, nature of business, number of employees, etc.) Legal Zoom has a really simple and easy to understand user interface; it explains all the technical terms you need to know as you go.

Once you’re finished, it’ll take a couple weeks to a month for Legal Zoom to put together and mail you the legal documents. They put “Sign here” stickers on places you need to sign. You just sign them and mail everything back.

Legal Zoom LLC application

After that, you’ll get a final package from Legal Zoom confirming your LLC formation along with your certificate of organization and operating agreement. Your business is now legal!!

My Attempt to Start an Importing Business

I’m a big fan of passive income. I have a wedding photography business that I keep myself busy during the New England wedding season (May – November), but during the off winter season, I’d like some extra income. I’m not big on the conventional 9-5 job ever since I quit my under-the-table job years ago (you can read about it on my About page) so I decided to find other creative ways to supplement my income.

This happened a couple years ago. I got interested in importing and reselling. The hardest part was finding things that could be turned into a profit. I spent a lot of time researching wholesale prices and the likelihood of making a profit.

I was looking for something that would meet the following criteria:

  • Low capital investment
  • At least 3x ROI (return on investment)
  • Preferably physically small so it doesn’t take up too much space in case it doesn’t sell

I decided on reselling sports embroidery patches. I compared prices between a handful of Chinese manufacturers online. After I decided on which one offered the best quality and prices, I sent them my design. Entering my credit card number was probably the most nerve wrecking moment not knowing if the manufacturer in China was legit since my only communication with them was via email, but I had a middle man (the website where I researched and compared manufacturers) that guaranteed secure payment, kind of like Ebay, they had some sort of buyer/purchase protection.

Here’s the price break down:

  • Wholesale price: $100 for 100 patches including international shipping from China
  • Resale price: ~$10 per patch on Ebay.
  • Profit: $9/patch x 100 patches = $900 minus shipping, Ebay & Paypal fees

I mean what could go wrong?! Selling 10-15 patches would get my investment back, which I did. Well, reselling didn’t go as well as I planned. Other people started selling similar patches with lower prices, which forced me to lower my prices; and the demand wasn’t as high as I thought. My selling price went from $10 to $3 over the course of a year.

Although I didn’t lose money, the tiny profit didn’t make the time and effort I put into researching worth while.

Some lessons I learned from importing and reselling:

  • Research takes a lot of time.
  • When you’re selling non-unique items, competition and profit are inversely proportional.
  • Don’t forget to factor in shipping, Ebay, and Paypal fees into your profit.
  • Ebay’s SEO (search engine optimization) is your best friend.

All in all, I’m grateful for the things I learned from this venture. A failed attempt doesn’t mean I’m giving up. I might experiment more in the future.

Tempted to Apply for the Amex Simply Cash Business Card $300 Sign Up Bonus

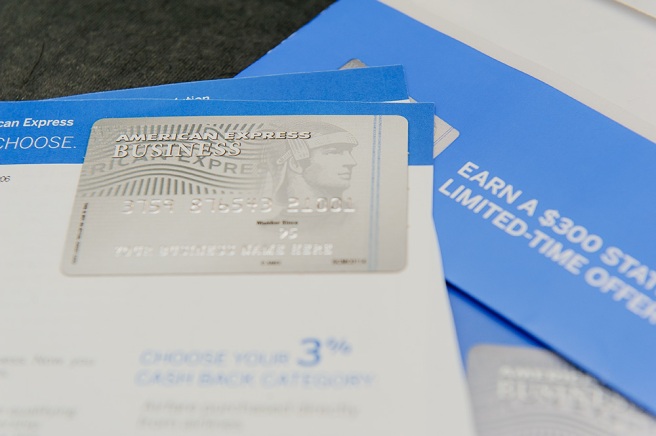
American Express Simply Cash Business Card $300 bonus targetted application
American Express Simply Cash Business Card $300 bonus targeted application

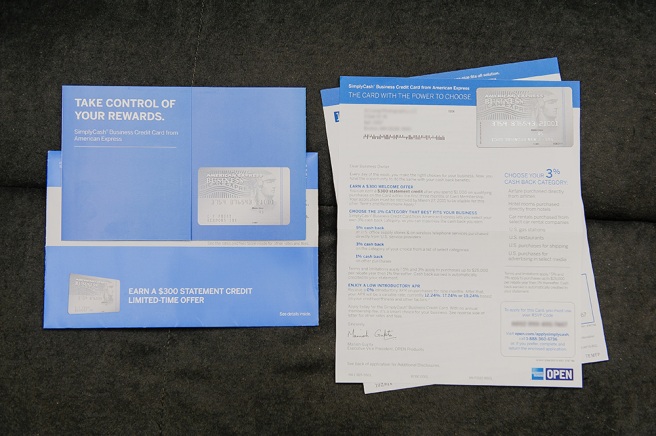
I received a targeted offer for the American Express Simply Cash business card with a $300 sign up bonus after $1000 spend in the first 3 months, and no annual fee in the mail yesterday. I’m tempted to apply. I already have the Chase Ink Plus business card, similar to the Simply Cash, it offers 5% at Office Supply Stores, but the Ink card comes with a $95 annual fee. The Simply Cash has no annual fee, not only that, it also has 3% bonus categories that you can pick (airfares, hotels, car rentals, gas stations, restaurants, advertising, or shipping.) You can read all about it on the Million Mile Secrets blog.

Amex Simply Cash Business application

I think I’m going to hold out for this one for a couple of reasons. 1) The sign up bonus is only $50 more than the current public offer ($250 after $3000 spend in the first 3 months.) And 2) I’m on a credit card apps diet until 2016.

What To Do During a 12-Hour Layover in Seattle?

On my way back from China, I had a 12-hour layover in Seattle, from 8am to 8pm. I knew I didn’t want to sit in the airport for so many hours, but I hadn’t done any research on what to do or what to see in Seattle, I thought I would just be spontaneous. Arriving in Seattle, not having a clue where to begin, I asked my friends on Facebook for suggestions. I ended up stopping by the Public Market Place, which had selection of vendors ranging from arts and crafts, produce, and a lot of other souvenirs. I also felt like a tourist and visited the Space Needle and Seattle Center. I made my last stop at Chinatown. I just had to see it because the only two Chinatowns I had been to were in Boston and NYC. Seattle Chinatown wasn’t that different, but the waitress at the restaurant I stopped by for lunch was really nice and offered me a free appetizer.

China 2015-5417a
Selfie in front of the Public Market Place in Seattle
China 2015-5408
Exotic seafood
China 2015-5412
Seattle farmers market
China 2015-5444
Space Needle
China 2015-5450
Seattle Chinatown gate


How I Booked Flights to China on Miles and Points

China 2015-5014
Guang Zhou, China (see more photos here)

Back in November (2013), I signed up for the Chase Sapphire Preferred card with 40,000 bonus points. My goal was to earn enough points for a round-trip ticket to China. At the time, United costed 60,000 miles. A devaluation hit in February 2014, costing 70,000 miles for the trip. Unfortunately, I didn’t have enough miles to book my ticket before the devaluation.

united-mileage-plus-bos-can
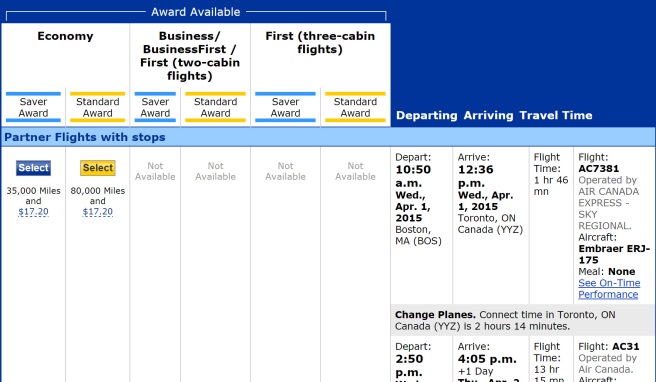
United 35,000 miles one way from the U.S. to China

Once I had 70,000 points in my Chase Ultimate Rewards account, I transferred them to my United Mileage Plus account. The points were supposed to transfer instantly but I didn’t see them after refreshing my browser multiple times. I had a mini heart attack. I later found out I had to log out and then log back in to my United Mileage Plus account to see my miles updated.

Total cost for my sister’s ticket: 70,000 United miles + $80 taxes and fees.

Then I proceeded to book my ticket using my Barclay Arrival miles.

Barclay Arrival miles redeem for travel statement
Barclay Arrival miles redeemed for travel credit

Since I was paying my ticket with “cash”, I had been watching the airfares for a couple weeks, which were all above $1,000. Then one day, it dropped to $991, thinking it was a good deal, I went ahead and booked it. About a month later, it dropped a couple hundred dollars more – nooo!! But whatever, I’ve since learned to stop watching for airfares after I made my booking.

Barclay Arrival miles can be redeemed within 120 days after the booking. Although I didn’t have enough miles to redeem the whole $991, I waited until almost the end of the 120 days so I could rack up more miles. I was able to redeem $700 against it. So my out of pocket cost was $291.

TL;DR I paid a total of $371 for two tickets from Boston to China that would have costed $2,000.